


No matter how clean we think our homes are there’s always dust bunnies and grime hiding in the corners. As Shanghai’s temperature improves and the sun makes an appearance, fling open your windows and get those marigolds out. It’s time to make your home clean and sparkly!
Before we begin, remember to start from the top down. No point in vacuuming first if you’re then going to clear debris from your ceilings/ bookshelves which will end up on the floor anyway.
Kitchen
01
Cupboards and drawers
Go through all your cupboards and drawers and empty everything out. Throw away anything you’re not going to use or is seriously out of date. Take a damp cloth and wipe away any debris. For food deposits that are caught in the crevices, grab the vacuum cleaner and use a thin nozzle to remove. This will help prevent our favourite mini housemates from gathering for the free food buffet (yes, I’m referring to cockroaches).
02
Microwave
Unlike your student days, your microwave is likely to be clean but there may be a few stubborn stains. To get rid of these, place a microwave-safe bowl with 240ml/ 1 cup of water, a chopped-up lemon, and a tablespoon of white vinegar inside. Then turn your microwave on for several minutes or until the solution boils and the window is steamy. Leave it to cool for 15 minutes before opening the door and wiping the inside and outside with a sponge.
03
Cabinets
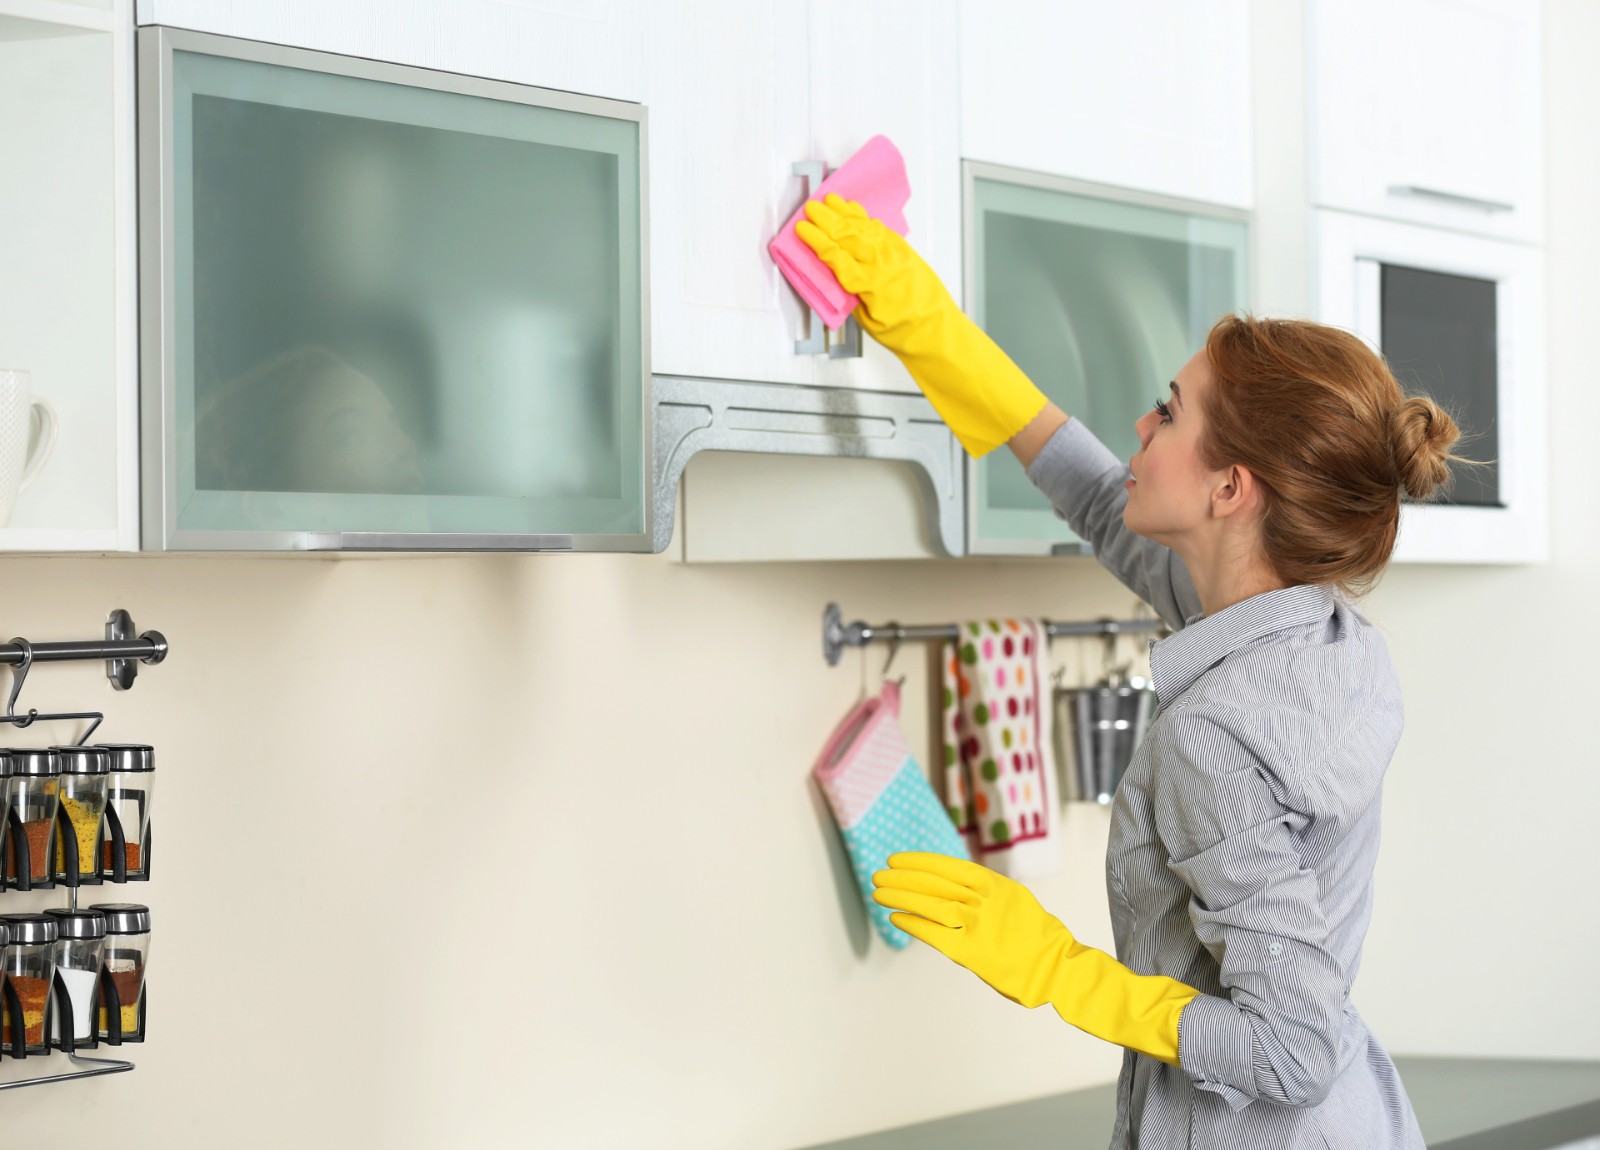
Take a close look at the doors on your cupboards, you may notice a layer of sticky kitchen grime. This is a combination of dust and grease that has built up over time. Best way to prevent grease from setting it to switch your exhaust hood on every time you cook. To remove the grease, mix together equal parts white vinegar and warm water and wipe away with a cloth; for stubborn grease add a few drops of washing up liquid to the mixture too.
04
Cutting Boards
If you’re anything like me cutting boards will drive you mad. Fear not, those nasty marks are not permanent. Slice a lemon in half and run this over your boards to remove tough food stains and smells. My favourite hack? Sprinkle a bit of baking soda on first. Sorted!
05
Fridge
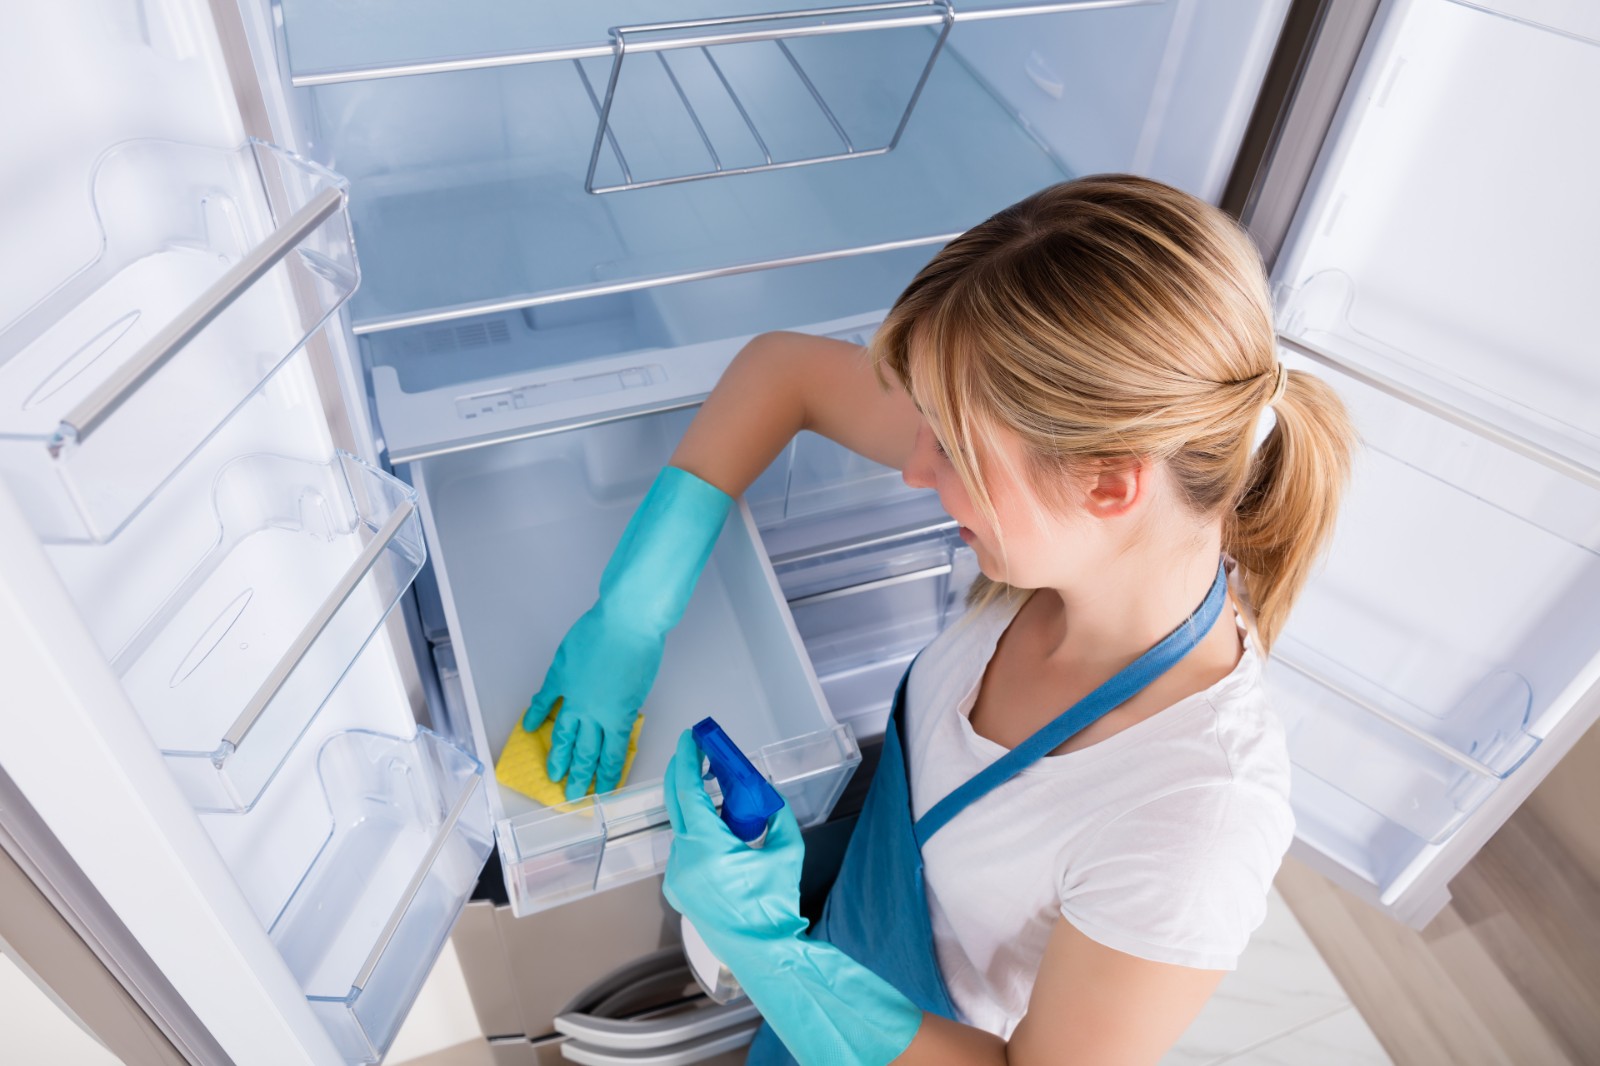
This was and still is my mum’s favourite Saturday morning chore. My best advice is to take everything out and remove all your shelves and door trays at the same time. Take a damp cloth and run this over the back, sides and base of your fridge. Then put dunk your shelves and trays in hand-hot soapy water. Dry them before you put them back into the fridge. You now have a fridge free of stains, crumbs, and wet veggie smells.
06
Pots and Pans
For pots and pans with difficult to shift burnt on stains, heat a mixture of water and one tablespoon of baking soda on the hob until it comes to boil. Allow it then to cool until the water is lukewarm. You can now wipe/ lightly scrub the stains away. For pots made of copper, try rubbing a dollop of ketchup (yes, I’m serious) on the outside as this will help dissolve any tarnish.
07
Stainless Steel Stove/ Hob
Removing finger marks and streaks off stainless steel is surprisingly easy. Pour one teaspoon of washing up liquid together with one litre of hot water, then using a microfiber cloth rub this solution into the marks making sure you go with the grain. Rinse with clean hot water and dry immediately with a clean cloth.
Living Room / Play Area
01
Furniture
It’s time to move the furniture. We’re all guilty of ignoring this as it’s just mafan. But it’s important to remove any dust settling underneath. After vacuuming underneath, remove your couch cushions and vacuum up those crumbs – you may even find that remote control you lost a few weeks ago. Give your couch cushions a good pat down as this will help to keep them firm and remove any dust that has settled. Spray and wipe your tables down with a microfiber cloth to remove food debris and dust.
02
Bookshelves
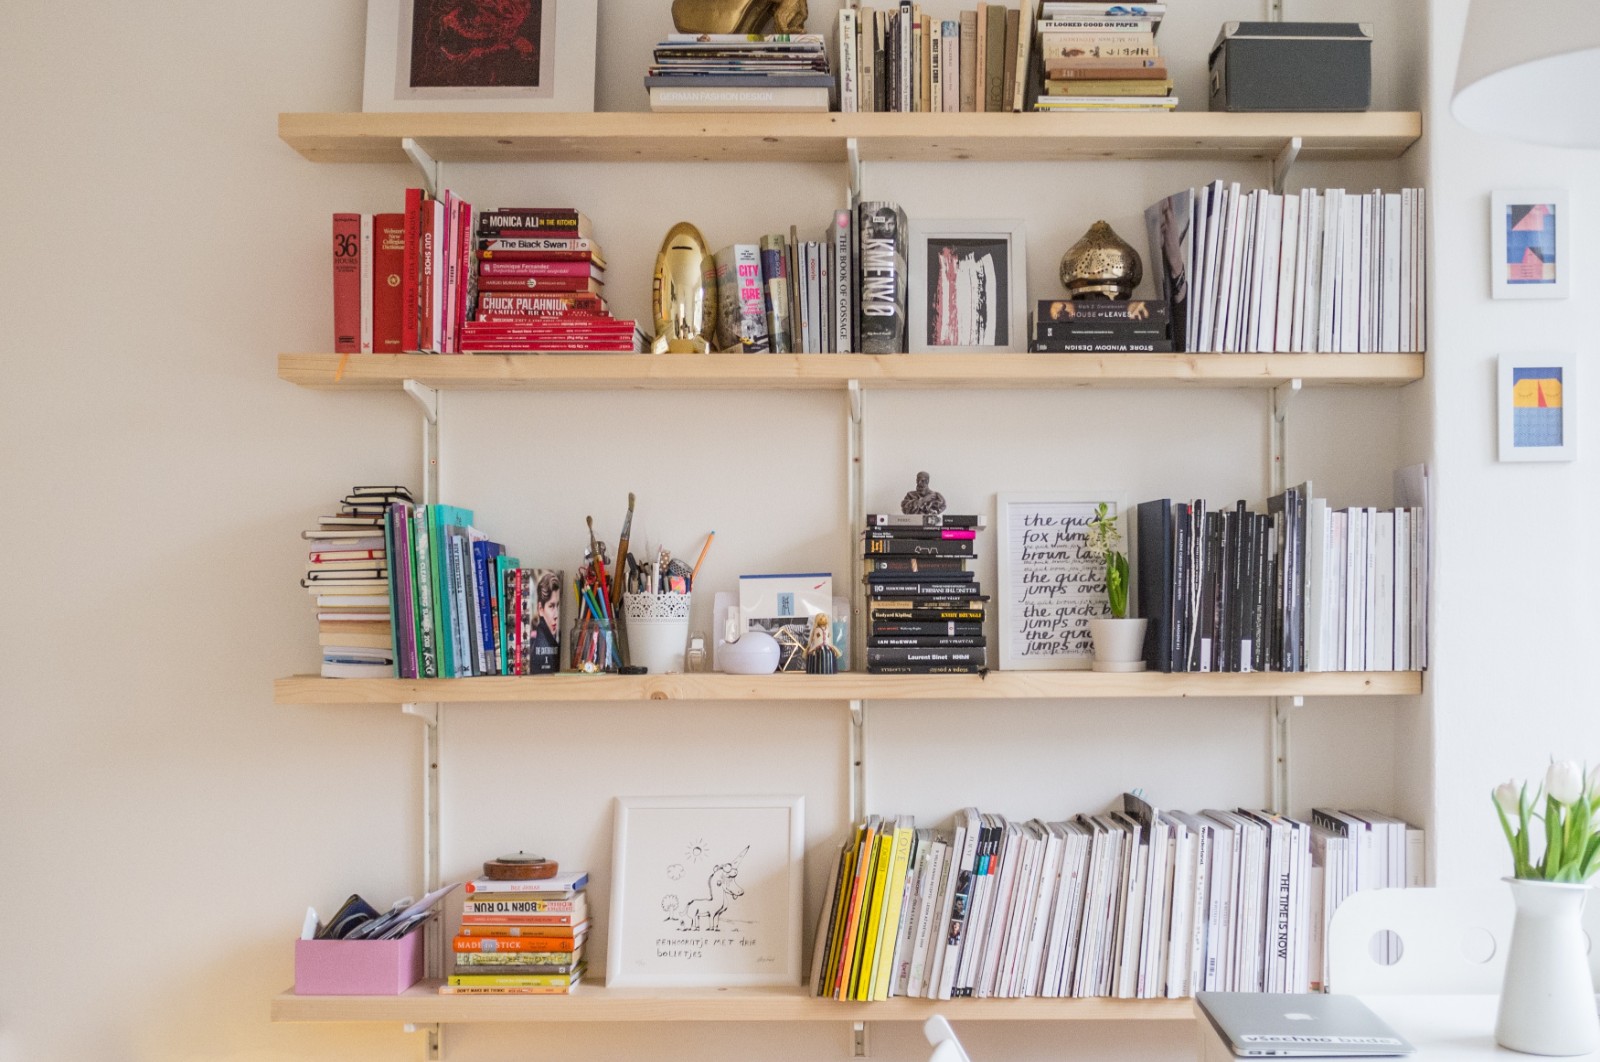
For those of us who actually have bookshelves, take a few minutes to go around the house collecting books left on coffee tables, bedside tables and bathroom drawers. Pile them up and decide what needs to go to a new home and what can stay – get the kids to join in! Spend some time either alphabetising, coordinating by colour, or sorting by size. Don't forget to dust before putting them back!
03
Kids' Toys

Unlike your countertops, bedding and dishes, your kids’ toys probably haven’t been washed- - with the exception of your little ones’ dribbles. Grab a big box and gather all the plastic toys (kids’ and pets’). Those with moving parts put to one side as these can be wiped down with an antibacterial cloth. Throw the rest into the sink/ bath and wash them in warm, soapy water. This will get rid of any bacteria and food remains like yoghurt, porridge etc. Don't overlook the convenience of your dishwasher if you have one! Just choose the quick cycle and skip the heated dry. For stuffed animals, check the tag first to see whether they are machine wash or hand wash only. Pop the machine-friendly items in a mesh bag or pillowcase and put them on a gentle cycle. Avoid machine drying, opt for wrapping them in a towel and giving them a gentle squeeze instead. Sit them on an airing rack to dry out naturally.
04
A happy home deserves shiny windows
Start on the shady side, as direct sun can lead to streaks. If you’re not a fan of glass cleaner, mix equal parts white vinegar to water in a spray bottle and wipe away with a microfiber cloth/ paper towel. This will help lift marks and grime. For particularly dirty windows, prewash with soapy water.
05
Ceilings (all rooms)
Take a broom and pop a microfiber cloth on top. Carefully run your cloth over light fittings (remembering to turn the lights off first), air conditioners and corners of the room to remove spider webs and dust.
Bathroom
01
Shower Curtain
Over time, grime and pink mould can build up on your curtain; but there’s an easy solution. Mix a tablespoon of baking powder together with 200ml of warm water and dab this onto problem areas. Next, throw your plastic or vinyl curtain into your washing machine. Make sure you put it on the gentle cycle with a small cap of detergent; add a couple of bath towels in for extra cleaning power! Then hang it to dry. To keep your curtain cleaner for longer, spritz it a few times each month with either a bleach-containing, all-purpose cleaner or equal parts white vinegar and water. Rinse it with the shower head before you hop in!
02
Shower Drain
When you think about all the water that goes through our shower drains it is no wonder why they begin to smell. To freshen them up (not unclog them) combine 64g / ½ cup baking soda with 32g/ ¼ cup table salt. Pour the mixture down the drain, followed by 1 cup of heated white vinegar. It will foam and bubble but don’t worry. Let it stand for 15 minutes (FYI any longer than this will not improve the result). Then allow your hot water to run for at least 15 to 30 seconds. This is especially good for bathrooms you rarely use.
03
Cosmetics/ Beauty Accessories
Despite how much that secret hoarder in you cries, bin all your expired makeup, skincare, shampoo and hair products. Not all products have an expiration date, but they will say how many months the product will last after opening. Make sure to regularly degunk your makeup and hairbrushes. For hairbrushes, gently snip through the hair so as not to pull out any of the bristles. Then, run a few drops of shampoo into your brush before rinsing under a warm tap; pat excess water out onto a towel. For makeup brushes, squeeze a few drops of shampoo into your palm and rub the bristle tips into the soap, gently working the suds through them. To rinse, hold the brush (bristles down) under warm running water until the water runs clear. Gently shake over the sink to remove excess water, then lay the brush down on a paper towel to finish drying.
The Bedroom
01
Bedding
Time to tackle the pieces you generally avoid, like pillows and duvets. Fortunately, this only needs to be done two or three times a year. Make sure to check the manufacturer's label before tossing them into your washing machine. Experience would suggest laying your bedding out flat on a drying rack; avoid machine drying at all costs - your pillows won’t forgive you.
02
Mattress
Now is the ideal time to pay attention to your mattress. Remove all your sheets and bedding and then press firmly with your vacuum's small, flat attachment/ narrow crevice tools to remove dust and dirt from the top and sides. Next, spray fabric sanitiser (Clorox is a good one!) sparingly onto your mattress and wipe away using a hot, slightly damp cloth. If you can be bothered, put a sheet onto your mattress and iron over it on a steam setting – this will help kill dust mites near the surface. Vacuum once more and leave to settle.
03
Wardrobe

Go through clothes and shoes from the season that’s just ended and remove anything stained, in need of repair, worn out, or ones that no longer fit (I am of course talking about your kids’ closets). Fold away items you’re no longer wearing and pop these away for next winter. Before hanging up your spring and summer clothes, perform the same check you just did for your winter clothes. Unsure if you still like something? Try it on and, in the words of Marie Kondo, see if it “brings you joy” – if it doesn’t, thank it and say goodbye!
Miscellaneous
01
Washing Machine
Try to give your washing machine a good rinse once a month; aka before you start to notice an odour. To do this, add a few tablespoons of white vinegar and a teaspoon of baking soda to a special cleaning cycle then leave the door open for it to air dry. This is also a good practice to prevent mould daily. Don’t forget to pull out the drawer at either the bottom or side of your machine and remove the clothing residue/ fluff that has collected there. Then give a quick wipe/ rinse before putting back.
02
Phones & Electronic Items
According to research, your phone probably harbours more germs than a toilet seat. Yep, gross! Give your phone, TV remotes, computer mouse and keyboard a once over with an alcohol/ antibacterial wipe to remove germs.
03
Purses and Backpacks
Take everything out, throw away the rubbish, and organise left over items by category. Sort smaller items like pens into little pouches or organisers, before you pop them back inside. With your kids’ backpacks, make sure to empty out their pencil cases as rubber and pencil shavings etc. often get left inside. Finally, wipe down the interior and exterior with a disinfectant wipe.
04
Cleaning Materials
Not to sound like Monica from Friends, but yes you should really clean your cleaning apparatus. You wouldn’t wash your face with dirty water would you. So, empty or replace the bag, clean the attachments, and replace or wash the filters. Snip away those threads snarled in the brush heads and put them in the bin. Wipe away the trapped dust with a cloth. Other cleaning accessories that need some TLC are your broom, brush and dustpan and mop. Clear away those dust bunnies stuck on your broom, brush’s bristles by swishing the head around in warm, soapy water and dunk your mop head into hot soapy water before giving it a good twist. Wipe your dustpan down with a clean cloth.
NOTE: Don’t forget to vacuum and mop the floors before moving onto the next room.
Phew! You’re done. Trust me, once you give your home a thorough spruce, you’re going to feel so much better. The kids may even feel better too.
Happy Cleaning


 沪ICP备15036271号-2